Easy Henna Patterns for Beginners
Introduction
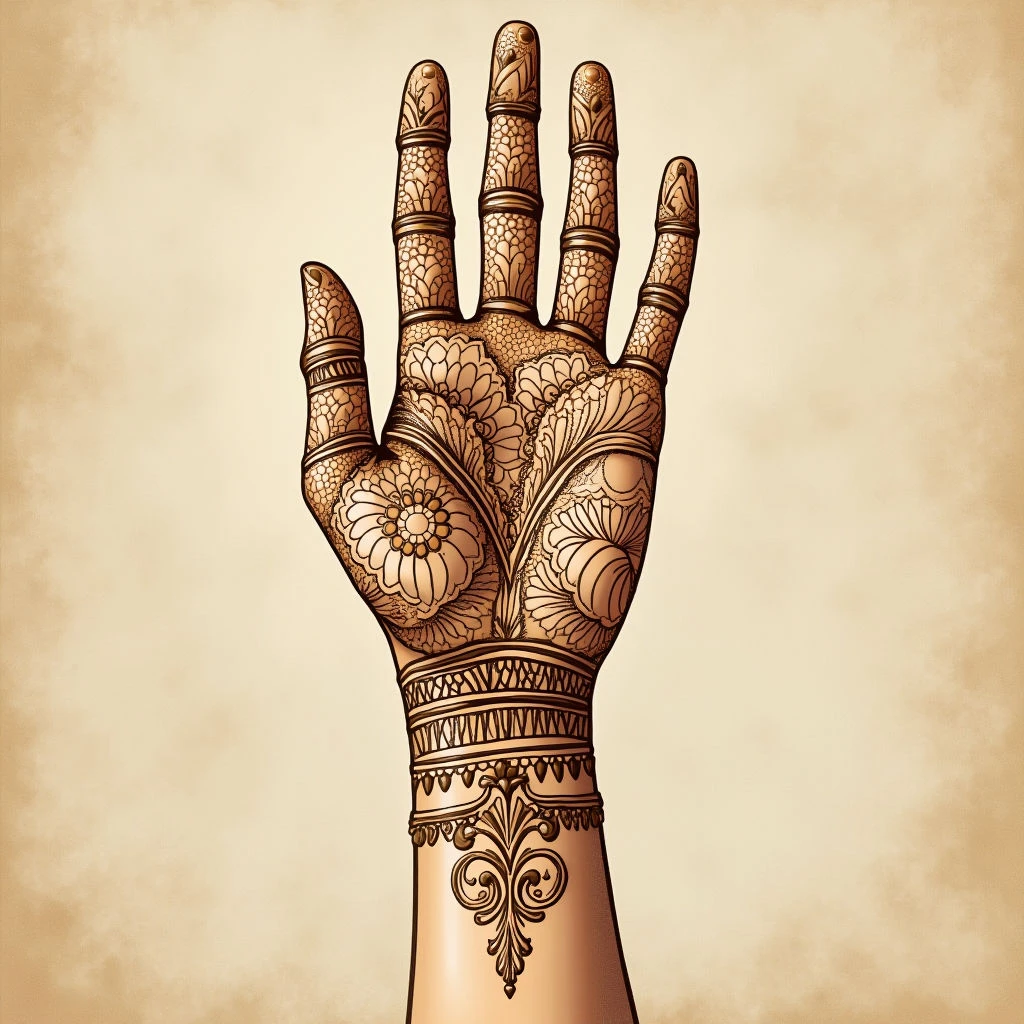
Henna art, a tradition steeped in history and symbolism, can seem daunting to approach. However, creating beautiful temporary designs on your palm is surprisingly accessible even for beginners! This guide will explore easy henna patterns, perfect for those just starting their journey into this ancient art form.
Understanding the Basics
Before you begin, familiarize yourself with basic henna shapes: teardrops, circles, dots, and simple lines. These are the building blocks of many designs.
Easy Palm Henna Designs
Simple Vines
Draw a central line up your palm and add small teardrop or leaf-like shapes along it to create a vine effect. This is very forgiving if you make mistakes!
Dot Mandala
Start with a dot in the center of your palm, then arrange concentric circles around it, adding dots within each circle.
Geometric Borders
Use straight lines and simple geometric shapes (triangles, squares) to create a border along the edge of your hand. This is great for learning precision.
Teardrop Clusters
Group several teardrops together in clusters to form larger patterns. Vary the size and orientation of the teardrops for visual interest.
Tips for Beginners
Practice on Paper First: Before applying henna paste to your skin, sketch out your designs on paper.
Use a Good Quality Henna Paste: Authentic henna paste is crucial for a lasting stain and safe application. Avoid 'black henna' which can cause allergic reactions.
Work Slowly and Deliberately: Rushing will likely result in messy lines. Take your time, and focus on creating clean shapes.
Don’t Be Afraid to Experiment: The beauty of temporary henna is that you can easily try new designs without commitment!
