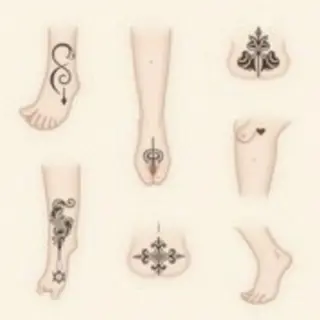
Designing Tattoos with Photoshop: A Practical Guide
Creating intricate and compelling tattoo designs often begins on a screen. Adobe Photoshop provides artists with powerful tools to digitize their visions before they become permanent artwork.
Getting Started: Your Photoshop Workspace
Let's dive into the process of designing tattoos in Photoshop. It’s a workflow that combines sketching, line work, shading, and more.
Setting Up
Begin with a new document—typically around 300 DPI for detailed designs. I like to create several layers right from the start: one for my initial sketch, another dedicated to clean line work (the inked lines), and a third for shading and color.
Sketching Your Tattoo Concept
Use a basic brush tool to roughly sketch out your tattoo idea. Don't stress about perfection at this stage; the focus is on composition and overall shape—getting the layout right.
Refining Lines with Ink Tools
Next, switch to a harder-edged brush that simulates ink. Trace over your sketch to create clean, bold lines. For really crisp edges that stay sharp when you scale the design later, consider using vector layers—they’re worth it.
Shading and Color Application
To achieve realistic shading and depth, utilize blending modes like Multiply or Overlay on separate layers. Experiment with different color palettes to match the desired aesthetic—whether you’re going for a traditional look, realism, watercolor, or something else entirely.
Adding Detail and Texture
Introduce finer details using smaller brushes and textures. Dotwork, stippling, and subtle gradients can add a lot of visual interest. Layer masks are incredibly useful here; they let you make adjustments without permanently altering your layers.
Finalization and Exporting
Once you're happy with the design, merge your layers strategically—but always keep a backup of the layered file. Convert to RGB color mode, save as a high-resolution PSD for future editing, and then export as PNG or TIFF for printing, ensuring it’s suitable for tattooing.


