
Creating Beautiful Mehndi Designs: A Guide
The dance of henna, or Mehndi, is an ancient tradition—a beautiful and symbolic practice. These intricate patterns aren’t just decoration; they're blessings, wishes woven into temporary skin adornment. Creating a truly meaningful design requires respect for its history and some careful skill.
Understanding the Significance
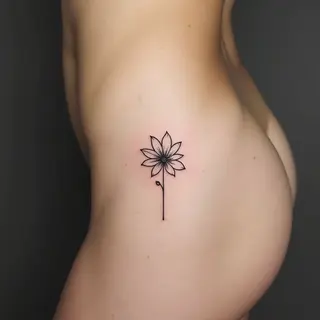
Before you even pick up a cone, consider what those symbols mean. Lotuses represent enlightenment; paisleys signify fertility, and floral motifs symbolize joy and prosperity. A little research here will really deepen your artistic experience.
Gathering Your Materials
- Henna powder (natural, high quality)
- Lemon juice & essential oils (for binding and darkening—do some research to ensure they’re safe!)
- Cones or applicator bottles
- Design stencils (optional for beginners)
- Q-tips & oil (for corrections)
The Process: Step by Step
Step 1: Preparing the Henna Paste
Mix the henna powder with lemon juice, a touch of sugar, and essential oils. Let it sit overnight—this is key to releasing the dye! The paste should have a consistency like toothpaste.
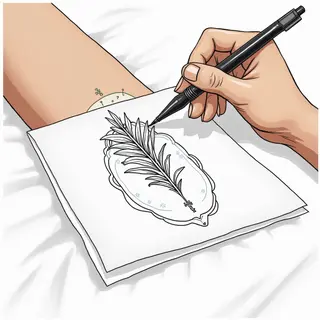
Step 2: Applying the Cone
Hold the cone at a 45-degree angle to your skin. Apply even pressure for clean lines—practice on paper first!
Step 3: Creating Basic Patterns
Start with simple shapes like teardrops, circles, and floral elements. Connect them to build larger designs.
Step 4: Adding Depth & Detail
Once the basic pattern is in place, add finer details—dots, swirls, intricate lines. This part takes patience!
Step 5: Drying Time & Aftercare
Let the Mehndi dry completely (usually 20-30 minutes). Then, apply a light layer of oil to help deepen the stain. Avoid water for at least 48 hours.
A Few Thoughts from Chen Chinese Art
Think of each stroke as a deliberate brushstroke in an ink wash painting. Embrace imperfections—they add character and make the design uniquely yours! Let your artistic spirit guide you.