
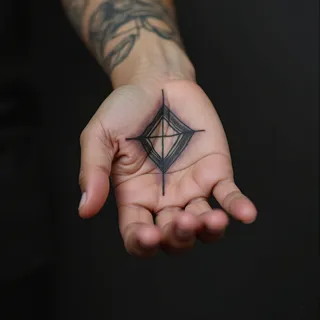
Mehndi: A Rich History of Intricate Designs and Blessings
From ancient traditions to modern celebrations, Mehndi (also known as henna) holds a rich history. These intricate designs, traditionally applied during weddings and festivals in South Asia, are not merely decorative; they carry blessings of joy, prosperity, and good fortune.
Understanding the Materials
- A natural henna powder (avoiding 'black henna' which can be harmful)
- Lemon juice or other liquid to create a paste
- Essential oils for scent and stain enhancement (like amla or tea tree oil)
- Cones or applicator bottles
- Paper towels
Step 1: Preparing the Henna Paste
Mix the henna powder with lemon juice or another liquid until you achieve a smooth, toothpaste-like consistency. Let the paste ferment for at least 8-12 hours to develop its staining power.
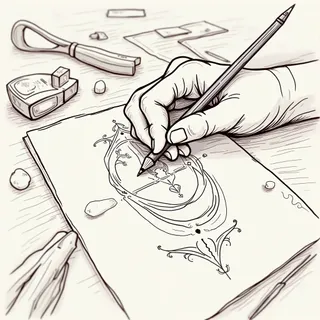
Step 2: Designing Your Pattern
Start with simple designs like teardrops, circles, or paisleys. Transfer your design onto the skin using a pencil or stencil (optional). Consider symmetry and balance as you plan your layout.
Step 3: Applying the Henna Paste
Carefully fill in your design with the henna paste using a cone or applicator bottle. Ensure an even layer for optimal staining.
Step 4: The Waiting Game
Allow the paste to dry completely, typically 20-30 minutes. Avoid touching or smudging the design during this time.
Step 5: Removing the Paste & Revealing Your Art
Gently scrape off the dried henna paste with a dull edge (like a credit card). The color will initially be orange; it will darken to a rich brown-red within 24-48 hours.
Tips for Success
- Always perform a patch test before applying henna to larger areas.
- Avoid washing the area with soap for at least 48 hours after removing the paste.
- Moisturize the skin regularly to prolong the stain's vibrancy.