A Beginner's Guide to Mehndi Palm Designs
Embarking on the world of Mehndi can be really exciting! This guide focuses on palm designs—perfect for those just starting out.
Understanding the Basics
Mehndi is a beautiful, temporary body art form using henna paste. It's traditionally done during celebrations—a real mark of joy and connection.
What You’ll Need
To get started, you'll need a few key ingredients: natural henna powder, lemon juice, sugar, essential oils (tea tree or eucalyptus work well), and a cone applicator.
Beginner-Friendly Palm Designs
Let's start with some simple designs you can master quickly. These form the building blocks for more intricate patterns later on.
Simple Shapes
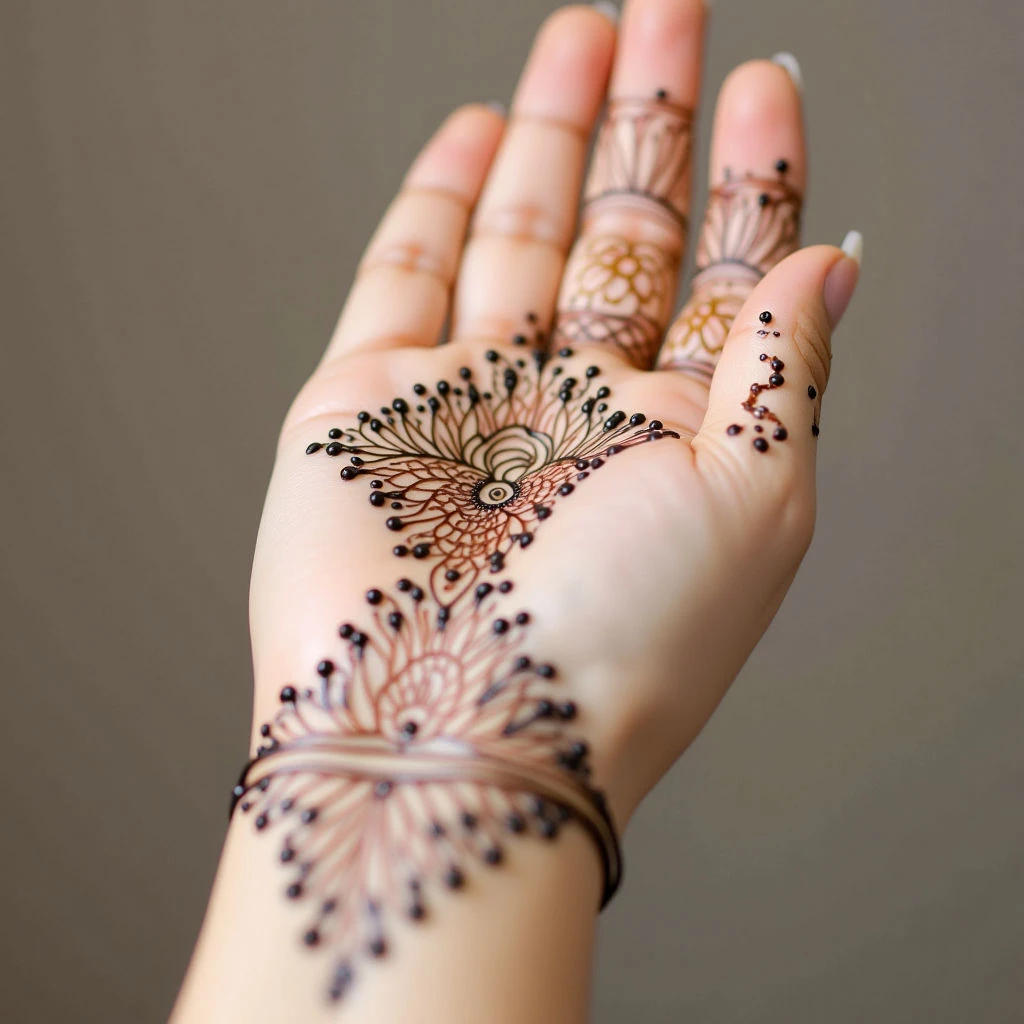
Begin with dots and circles—they’re easy to create and provide a great foundation. Then, practice drawing basic lines and curves; these will become petals, leaves, or borders in your designs.
Classic Motifs
Simple leaf shapes are classic Mehndi elements. Draw small ovals with curved stems. You can even try simplified paisley motifs—break them down into basic teardrop shapes; it’s a beautiful and recognizable pattern.
Finger Details
For extra flair, outline each finger individually or connect them with simple vines—it's a lovely touch!
Tips for Beginners
A few things to keep in mind as you’re learning:
- Practice on paper first—get comfortable with the cone before applying henna to your skin.
- Start slow and steady; don't rush! Clean lines are key.
- Use a reference image for inspiration—there are tons of beautiful Mehndi designs online.
- Moisturize your skin well – hydrated skin results in darker henna stains.
Aftercare
Once you’ve applied the henna paste, keep it on your palm for 2-4 hours, then gently remove it. Avoid water contact and apply a natural oil (like coconut or olive oil) to help keep that stain dark.


