
Creating Henna Designs: A Beginner's Guide
Henna body art is beautiful and ancient, and making your own designs can be really rewarding. This guide covers the basics – perfect if you’re just starting out.
What You'll Need
Gathering your supplies is the first step. Here's what you need to get started:
- Henna Powder: Make sure it’s ‘body-art quality.’ Not all henna is safe for skin!
- Lemon Juice & Sugar: These bind the ingredients and help with staining. The ratios are important—do some research to get them right.
- Essential Oil (optional): A few drops of lavender or eucalyptus can improve the stain and add a nice scent.
- Application Tools: Cones, bottles with fine nozzles, even popsicle sticks—experiment to see what works best for you. Practice is key!
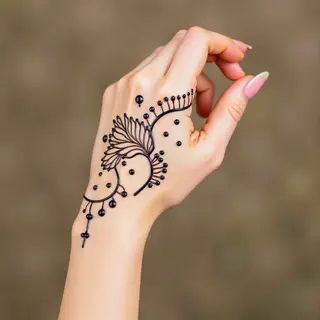
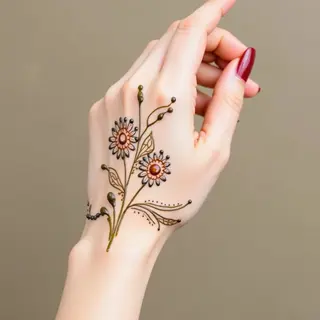
- Design Inspiration: Collect images of designs you like. Simple patterns are a great place to begin.
The Process
Step 1: Mixing the Henna Paste
Consistency is everything! If it's too thick, it won’t flow easily; if it’s too thin, you’ll have a mess. Aim for a smooth texture like toothpaste.
Step 2: Loading Your Cone/Applicator
Carefully fill your chosen applicator with the henna paste, being careful to avoid air bubbles.
Step 3: Applying the Design
Start simple! Outline your design first, then fill it in. It's a good idea to practice on paper before you apply anything to your skin.
Step 4: Letting it Dry & Stain
The longer the henna sits on your skin (without washing!), the deeper the stain will be. Aim for at least 15-30 minutes, or even a few hours.
Step 5: Removing the Henna
Gently scrape off the dried henna paste with something that has a dull edge—don't wash it! The color will continue to deepen over the next day or two.