
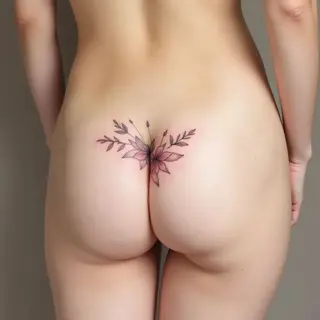
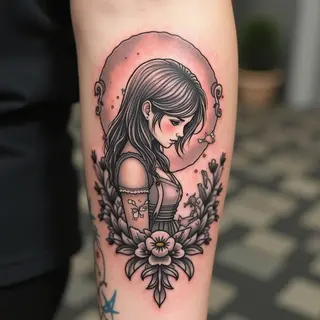
Creating Tattoo Designs with Procreate
Designing tattoos digitally in Procreate combines artistic freedom with precision—something I’ve seen evolve over years of adapting traditional techniques to the digital space.
1. Concept & Sketching
Let's start with your idea: a portrait, a floral design, or maybe something geometric? In Procreate, begin by laying down rough sketches using a simple brush like the '6B Pencil.' Don’t stress about making them perfect—this is all about exploring possibilities.
2. Line Work: Precision Matters
Next, switch to a finer brush – the 'Technical Pen' works well—for clean lines. This stage requires careful attention; it’s just as vital as in traditional tattooing. Think about how the lines will flow and look when transferred onto skin.
3. Shading & Depth
To create depth and dimension, experiment with brushes like 'Soft Airbrush' or charcoal tools. Really observe how light falls on your subject—even small changes in value can dramatically affect the realism of the design.
4. Color Palette (if you’re using color)
Play around with colors, keeping in mind that tattoo ink behaves differently than digital paint. It's a good idea to test color combinations digitally first, but always consider how they will look in the real world.
5. Refinement & Finalization
Zoom in and check for any imperfections—every detail counts when you’re transferring a design to skin. Save your work as a high-resolution PNG or PSD file.