Henna Designs: A Blend of Tradition and Artistry
Henna designs are a captivating blend of tradition and artistry. They're more than just patterns; they’re expressions of culture, celebration, and personal style.
Understanding Henna Basics
The Tradition
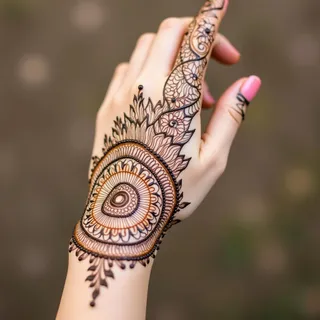
Historically, henna is used for ceremonial body art in many cultures (Middle East, North Africa, South Asia). Designs often hold symbolic meanings related to blessings, protection, and beauty.
Modern Adaptations
While traditional designs remain popular, modern henna artists incorporate contemporary elements – geometric shapes, floral flourishes, even abstract patterns.
Step-by-Step Design Process
-
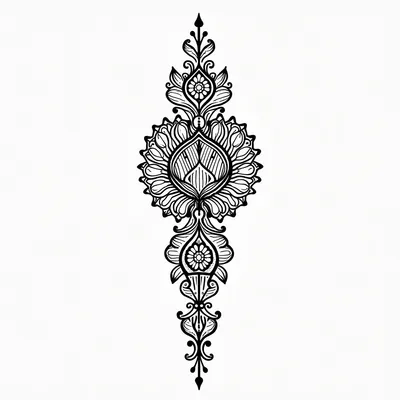
Start with the Basics (Shapes)
Don’t jump into complex designs right away. Practice fundamental shapes like circles, teardrops, diamonds, and leaf forms. These are building blocks for more elaborate patterns.
-
Geometric Foundations
Geometric henna patterns rely on precise lines and repetition. Use a ruler or stencil to guide your initial sketches.
-
Floral Motifs
Flowers are a classic element in henna designs. Practice drawing individual petals, then combine them to form full blooms.
-
Layering & Symmetry
Henna patterns often involve layering elements and creating symmetrical designs. Experiment with mirroring shapes to achieve balance.
-
Negative Space
Don't fill every area! Negative space (the empty areas around the design) is just as important as the lines themselves. It creates visual interest and allows the pattern to breathe.
-
Inspiration from Street Art
Look for patterns, repetition, and symmetry in graffiti art, stencils, and urban landscapes.