The Dance of Henna: A Whispered Blessing and an Echo of Ancient Rituals
1. The Foundation: Understanding Motifs
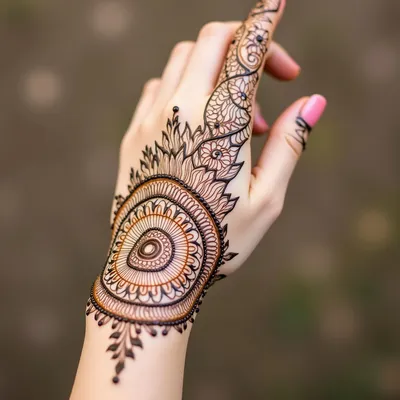
Before ink touches skin, understand symbols. Paisley (boteh) represents fertility; floral patterns embody grace; peacocks symbolize beauty and royalty. Each element carries a story.
2. Preparing Your Cone
Fresh henna paste is vital. Practice squeezing consistent lines onto paper until the flow feels natural – akin to guiding water along a bamboo channel.
3. The Basic Strokes
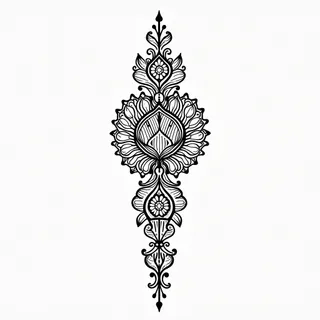
Begin with simple teardrops, circles, and curves. These are the building blocks of more complex designs - like brushstrokes in an ink wash landscape.
4. Layering & Detailing
Build upon your foundation by layering motifs. Think of it as creating depth in a traditional painting: foreground elements bolder, background receding into shadow.
5. Creating Symmetry
Balance is key; symmetry conveys harmony and completeness. Imagine the flow of a dragon's form – each side mirroring the other.
6. The Final Touch
Allow the henna to dry completely before removing excess paste. The oxidation process deepens the color, revealing the true beauty of your creation.